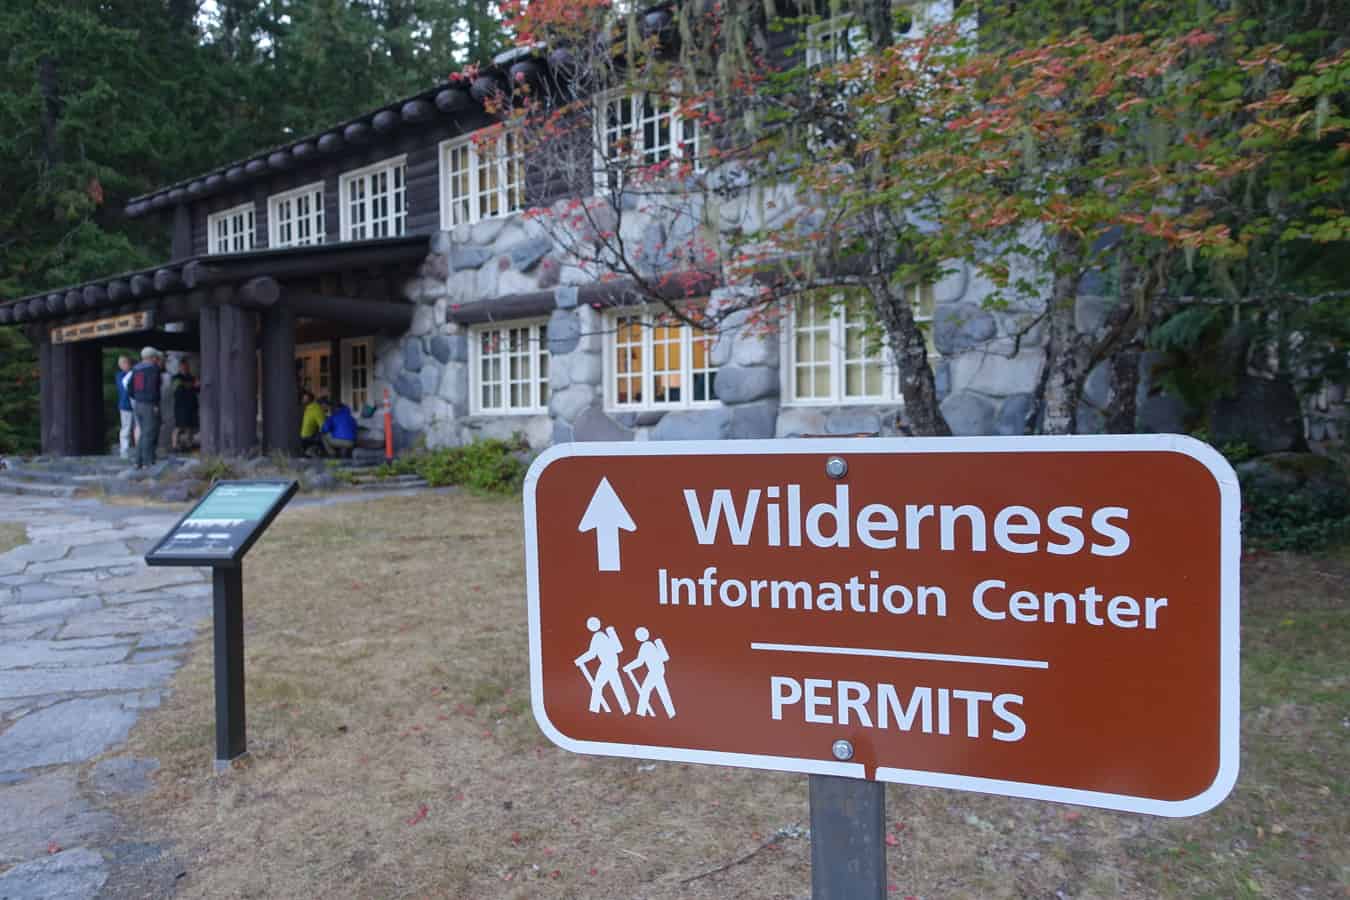
Thanks to the wonderful community of a Facebook group centered around hiking the Wonderland Trail (whose awesome founder and admin we actually met on the trail!), we learned lots of tips and tricks for acquiring a “first-come, first-serve” permit, more commonly known as a “walk-up permit,” before we arrived.
We went into the whole thing fairly confident that it wouldn’t be too difficult of a task, based on the experience of so many others in the group. Boy, were we in for a rude awakening though! We realized that the walk-up permit process can be effortless for some, but painstakingly difficult for others (we were in that camp). It truly is luck of the draw, with lots of factors playing into your success rate.
Because of how much we learned in the process, beyond the helpful tips of the Facebook group, I thought it would be beneficial to others who plan on hiking the Wonderland Trail to share what we learned. Permits are increasingly difficult to come by with the Wonderland Trail, because of its popularity. So you’d best be armed with as much knowledge as possible before you take a chance on a walk up permit, in case it feels like the permit gods are still conspiring against your adventure!
1. Apply for a Permit on a Weekday, Not a Weekend
Top Tip: Start your hike during the week, not the weekend.
Because the weekends are popular times for non-thru hikers to compete for walk up permits, even if it’s just for a night or two, it decreases the amount of sites available to you at the onset of your hike. We aimed to start hiking on a Sunday (applying for our permit on a Saturday), but in hindsight, we would have been better off had we arrived to apply for a permit on a weekday.
2. Check the Ranger Station’s Door the Night Before You Apply for a Walk Up Permit
Top Tip: Check the night before and at least use the campsite availability list as a starting point, in hopes that you might get lucky that nothing has changed!
We didn’t realize this, but at the Longmire Wilderness Information Center (WIC), and I imagine the other WIC’s, they will likely post the available campsites on their door, near the time they close for the day. This would have been immensely valuable to know the night before, to tweak the itineraries we had already mapped out before arriving to the park. We went in blindly the next morning, with several itineraries in hand, but none of them were even remotely possible.
Don’t assume the list they post is 100% accurate though, especially if you’re not first in line that morning. When we arrived early to Longmire’s WIC and used this list to tweak our itineraries quickly in the time we had before they opened, we thought we had dialed it in perfectly. Not the case! One of the campsites filled the day before, after they posted the list on the door, and it derailed everything we had so carefully mapped out.
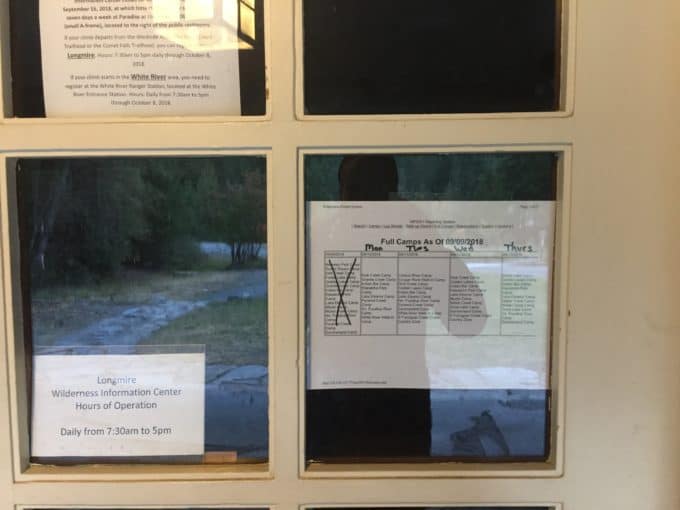
Full camps list on the door at Longmire WIC
3. Arrive as Early as Possible to the Wilderness Information Center
Top Tip: Get there as early as possible. There are two benches beside the door at Longmire’s WIC where you can actually catch a few winks while you wait!
We had read recent accounts of people arriving at the ranger station right when they opened, with no one waiting to jump in line a permit. Since we were arriving after Labor Day, when permit seekers supposedly drop off considerably, we were hopeful this would be the case. Still, to be sure, we arrived about 30 minutes before they opened, only to find four groups ahead of us!
4. Don’t Assume Longmire is the Best Wilderness Information Center
Top Tip: Consider using a different ranger station than Longmire. Just because it’s the most popular station, doesn’t mean it’s going to give you a better chance of securing a permit.
We chose Longmire’s Wilderness Ranger Station as our permit starting point. You can also apply for a walk-up permit at Paradise, White River and Carbon River WICs. My sense from my research was that Longmire would have the most knowledgeable rangers, but that wasn’t necessarily the case for us.
The ranger who helped us had not hiked the entire trail and seemed far less knowledgeable in comparison to the ranger next to her, who we overheard helping other people trying to map something out (who were ultimately more successful, much more quickly than we were). And please don’t read this as me bashing the rangers–anything but! We are some of their biggest fans, but their level of knowledge inevitably varies, and you shouldn’t assume the most popular locale has the most experienced staff.
Also, when the station first opened, there was only one ranger there for the first 30 minutes, which made things move more slowly initially. Also, when we finally made our way to the front of the line, several people filed in behind us and we were waiting. We weren’t pressured at all by the rangers to make decisions more quickly, but I felt a self imposed pressure which made things more stressful when we couldn’t lock something in quickly.
5. Map Out Several Itineraries Before Leaving Home
Top Tip: It pays to really know the lay of the land with the campsites and such. Map out several itineraries but know things will change, sometimes significantly, when you get your permit.
This is an obvious tip, and we certainly did it (I think I had about 7 different itineraries mapped out). If you’re lucky, you’ll score exactly what you want. That’s rare, even for the luckiest of folks. What was surprising to me in the moment, is that it was actually easier to pitch the itineraries I walked in with and start from scratch in the ranger station. We kept trying to make one of them work because it seemed like it eventually would work out somehow. But we wasted a lot of time when it would have been easier to just clear our minds of any preconceived ideas of our hike, and start fresh with a list of the available campsites.
Also, I had read countless times (even from a ranger who chimed in on the Facebook group) that the rangers would work with you to figure out something, and that they rarely couldn’t find something that would work. While I am sure this is 100% true, the ranger helping us wasn’t quite as helpful as I’d hoped. It may have simply stemmed from her not having the knowledge to help us effectively, but even so, memorize as much about the trail as you possibly can before coming in! And again, I have nothing but love for park rangers, so please don’t read anything into this advice other than it’s my personal experience.
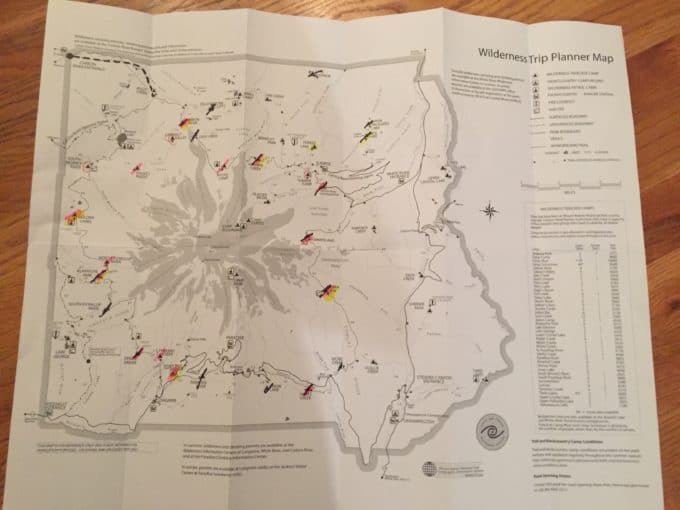
When you’re in the WIC, ask for a Wilderness Trip Planner Map. It has the mileage listed between campsites and is easier to read than the Nat Geo map that we were carrying.
6. Plan for a Night at Indian Bar or Summerland Towards the End of Your Hike
Top Tip: Map out itineraries but don’t be scared to push them to side and start fresh in the ranger station. Assume you will have to figure it out quickly and on your own, to get the best shot at a permit.
This is one you’ll hear constantly if you pay attention to other people’s experiences and advice, but it’s worth throwing in because it’s so true. These are two most popular sites on the trail and they’re relatively close together. As you’re mapping out various itineraries before you come to the park, always put these last for the best odds of securing one of them (and securing anything, for that matter!).
Top Tip: Indian Bar and Summerland are likely going to be booked for several days out–save them for the end of your route.
7. Use the Wonderland Trail Planning Website in the Ranger Station
Top Tip: Use the Wonderland Trail Planning Website at home AND in the ranger station.
There’s a great website that will help you map out several itineraries based on the amount of days you’d like to hike the trail in and the direction you’d like to travel. You can print them out and/or save them on the website. The planner even provides distances for each day, based on your itinerary, and lets you easily shift your day’s mileage and campsites with. I’m not sure about all of the WIC, but Longmire and White River WICs both have wifi access inside the buildings. You can open the website’s planner to help you map out something new more quickly than doing the math of campsite distances on paper.
As a side note, there is a fabulous book, Hiking the Wonderland Trail (Tami Asars) that is immensely helpful in planning your Wonderland Trail hike.
8. Try to Stay in as Many Frontcountry Campgrounds as Possible
My Tip: Incorporate as many front country campgrounds into your itinerary as possible.
In theory, if you’re a super strong hiker, you could hike the Wonderland Trail and only utilize these 3 frontcountry campgrounds: Cougar Rock, Mowich Lake, and White River. There is a 4th, Ohanapecosh, but it’s not directly on the trail like the others are.
Obviously, hiking the trail in 3-4 days isn’t something most people are capable of, BUT it’s helpful to incorporate those into your pre-planned itineraries as much as possible. You may not need to stay in all of them, but it sure helps secure more sites along the way. There are a limited number of sites available to thru hikers, free of charge. If those are all taken, suck it up and pay the $20 to stay in one (after all, you’re getting a walk-up permit to thru hike for free!).
9. Incorporate a Stay at Longmire OR Paradise Lodge Into Your Itinerary
Top Tip: Be willing to stay in one of the Park’s lodges one night.
First, you’re going to indulge in a night off trail with a cozy bed and warm shower! But you’re also going to open up more options with your walk-up permit. We ended up staying in the National Park Inn at Longmire for a night, and we didn’t regret it for a second! Paradise Inn is a bit more off the trail, but it’s not so far that it’s not worth it, in my opinion.
And just FYI, all that laundry you see drying in the photo below? Totally unnecessary because Longmire has self service laundry, apparently! We didn’t know at the time and were true hiker trash and washed it in the bathtub!
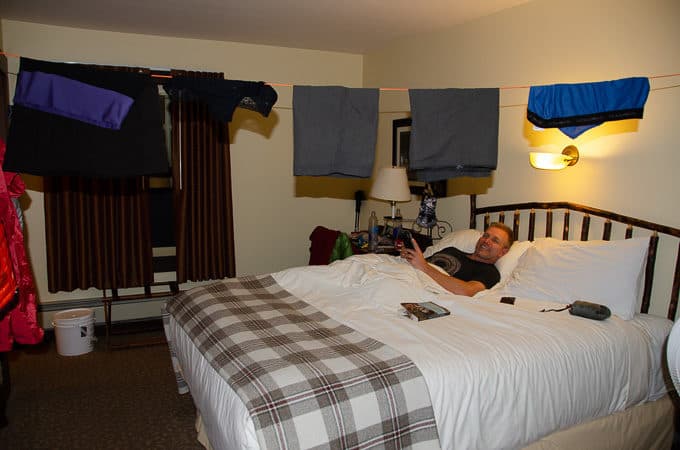
Chillaxin’ in our hotel room at Longmire! Longmire apparently has self-serve laundry, by the way. We didn’t realize that when we stayed there and did laundry in the bathtub!
10. Be Willing to Stay in a Campground Two Nights
Top Tip: Plan for some cushion with the amount of days you can hike the trail. You may need to lengthen it a bit, based on availability. Or you may even need to shorten it, in which case be prepared physically.
Until the stars aligned for us later in the morning, we were confronted with a stubborn stretch of trail that would require a very high mileage day to get to the next open campsite. Instead of killing yourself, build in an extra day on the trail and stay put for 2 nights in a campground, if you can secure it for that long. Not ideal, but worth it, if it lands you a permit.
Also consider staying in the front country campgrounds, such as Cougar Rock or White River, but not in the designated spots for people hiking the Wonderland Trail. They only reserve a few spots for that purpose, but if you’re willing to pay the fee for a site not reserved for thru hikers, it opens up more options if there is availability.
11. Ask if There are No Show Permits from the Previous Day
Top Tip: Ask if there are any unclaimed permits from the previous day that they didn’t “release” into the system.
This is a biggie. When we were really struggling to find a route that we could complete in the 10 days we had allotted to complete the trail, the ranger who was helping us finally volunteered that there was a permit no one had claimed the previous day. It was only a partial circuit, so maybe that’s why she didn’t give us the information quickly, but it helped us piece something together ultimately.
I’m not sure whether the park service typically releases the no shows from the day before or not, but it’s worth asking!
12. Stay in campsites not directly on the Wonderland Trail
Top Tip: If you’re stuck with a high mileage day along the route, see if you can veer off the Wonderland Trail and reserve a nearby campsite.
It’s easy to forget any other hiking trails exist in Mt. Rainier National Park when you’re in the throes of mapping out an itinerary on the fly. However, there are several campsites not too far off the Wonderland Trail that you can reserve instead, if it helps you avoid a super high mileage day. Your overall mileage for the trail may be higher as a result, but if it helps land you a reasonable itinerary, it’s worth the extra footsteps.
13. Reserved Permits Must be Claimed by 10 a.m. or They’re Up for Grabs
Top Tip: Don’t give up until you see what’s available after 10 a.m.
If there was one thing that helped us the most, this was it. Once 10 a.m. rolled around, the rangers were able to cancel permits for no shows. Someone didn’t show up for one that we immediately jumped on at at 10 a.m. We had already pieced together a route that was doable, but not great. Switching out a few campsites at that point was our ticket to a kick ass permit, ultimately.
14. Check Your Permit Dates Before Heading Out
Top Tip: Double check your permit dates before heading out.
I’m still not sure what happened with our permit, other than it was so incredibly hard to piece together (even the ranger told us that ours was one of the more difficult ones she’d ever had to help with) but we had a gap in our dates once we were issued our permit. In other words, we had a night in the middle of our itinerary that didn’t have a designated campground assigned to us! It wasn’t obvious though, because the date that was missing wasn’t even listed!
We didn’t realize this had even happened until we were about to head out for the trail! I’m not sure what the heck we would have done had we not noticed it until we were half way around the mountain! The photo pictured wasn’t our final itinerary, by the way–this was before we had it tweaked after 10 a.m. to dial in our official route.
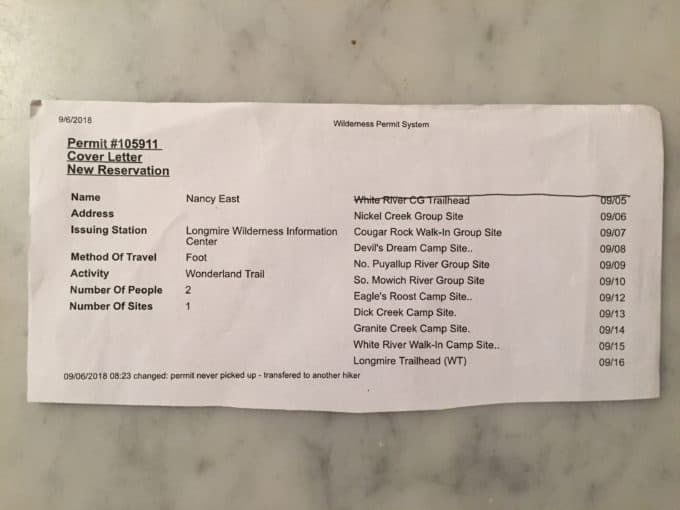
What happened to September 11th? I imagine it’s a day we’d all like to forget, for obvious reasons…
15. Check at Wilderness Information Stations Along the Way for Openings
Top Tip: Even if you’re stuck with something you don’t love, you might have a chance of changing it later.
Our weather was lousy for the majority of our hike. Because of this, lots of people bailed on their permits and we were able to tweak ours ever so slightly to end a day earlier than planned (we were pretty tired of being waterlogged after day 8!).
There are also rangers patrolling the trail in the busy season, and from my understanding, they can sometimes change things for you as well.
16. The Fewer the Days, the Better the Odds
Top Tip: Train hard regardless (the Wonderland Trail is tough!), and have a good idea of what your limitations are mileage wise. Pay attention to how much elevation loss and gain you’re capable of on your training hikes. The Wonderland is essentially a roller coaster–if it’s not going up, it’s going down, and there aren’t a lot of flat stretches anywhere!
While it may seem like a longer itinerary would open up more options, in retrospect, I think the opposite is true. If we had been willing to hike the trail in 6-7 days, we could have mapped something out quickly. It would have required an 18-mile day, which was certainly within our abilities, but not ideal, especially since it would have been along one of the toughest stretches of the entire trail.
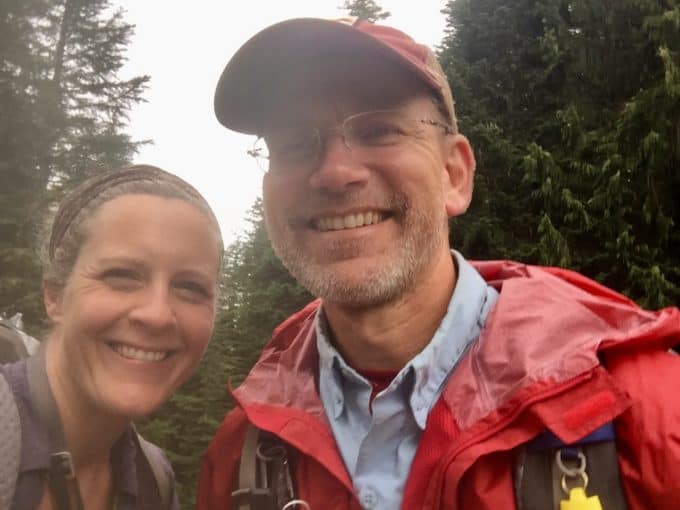
All smiles at the end of our walk around the mountain!
Whew, that’s a lot of info! Feel free to ask questions in the comments section below if you have specific questions! I also plan on publishing a planning guide, with other tips we learned along the way. You can sign up to receive notification of that post below.
In the meantime, feel free to check out my own Facebook group, Backpacking, Hiking, and Camping Gear Deals where I share the best of the best sales and deals I can find in the outdoor industry, each and every day. It’s a fabulous group of folks who are always welcome to lend their own opinions on the stuff I post, and we have a lot of fun sharing knowledge and educating newbies on how to stay safe in the woods.
Happy Trails!
