Overview of the Foothills Trail
I have hiked the Foothills Trail twice. The first time, I hiked it as a mixture of day hikes and overnight backpacking trips, throughout the course of all four seasons in 2014-15. My three children hiked the trail with me at the ages of 10, 8 and 7. One of my best friends hiked it with us, with her four children. It was my first foray into backpacking with all of my kids at once, so I was rusty after a long hiatus from backpacking to raise little kids.
You can find my written blog posts about our hikes on the Foothills Trail and how we tackled it section by section right here.
The second time I hiked it, I was solo and backpacked it in May over the course of 3-1/2 days. While it’s possible to complete it over a long weekend, like I did, it’s a more enjoyable experience to take your time.
An ideal itinerary for this trail would be 5 days. Five days eliminates most people’s needs for a food resupply, but it gives a hiker long enough to take in the trail’s beauty without rushing. Seven days would be nice, too, and allow for a more leisurely pace; however, a resupply point would be necessary for most people.
I think this is also a wonderful experience for children, as long as you take it slow and keep the mileage at a level they can easily hike. Here’s something I wrote about backpacking with children and the things that work well for my own kids, to keep them happy on the trail. And here are my top tips for keeping them safe on a hike (as a search and rescue team member, I take this topic seriously).
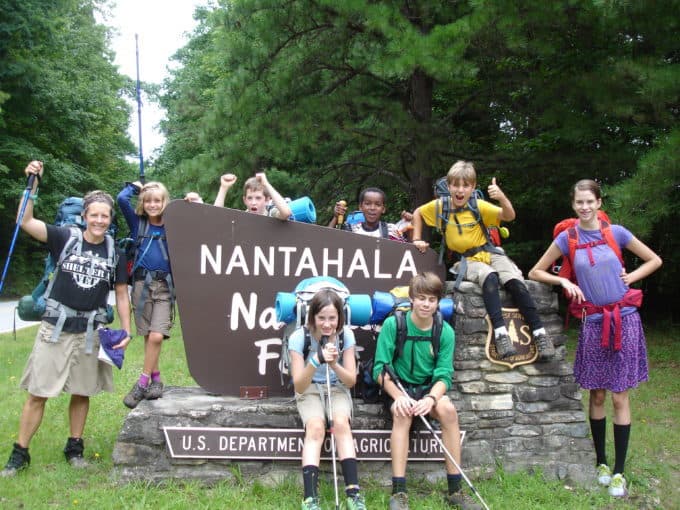
Me with all our kids on one of our hikes (my mom friend took the photo!).
Quick Stats and Highlights of the Foothills Trail
The Foothills Trail is 77-miles in length.
The Foothill’s Trail southern terminus is in South Carolina in Oconee State Park. The northern terminus is in Table Rock State Park in North Carolina.
There is a total of 13794 feet of ascent and 14644 feet of descent if you’re hiking from south to north. Starting at Oconee State Park (the southern terminus) provides a more gentle grade initially. Conversely, if you’d like to tackle the biggest climb of the entire trail and get it over with first, starting at Table Rock State Park is a better choice.
The trail traverses some of the most beautiful terrain in the southeast, in my opinion. Some of the highlights:
- Blue Ridge Escarpment ecosystem, including the Chattooga and Horsepasture Rivers as well as its forest communities
- Sassafras Mountain, which is the highest point in South Carolina
- One of the rarest wildflowers in the southeast can be found in spring, the Oconee Bells.
- Waterfalls, such as Upper and Lower Whitewater Falls which are two of the highest waterfalls in the eastern US
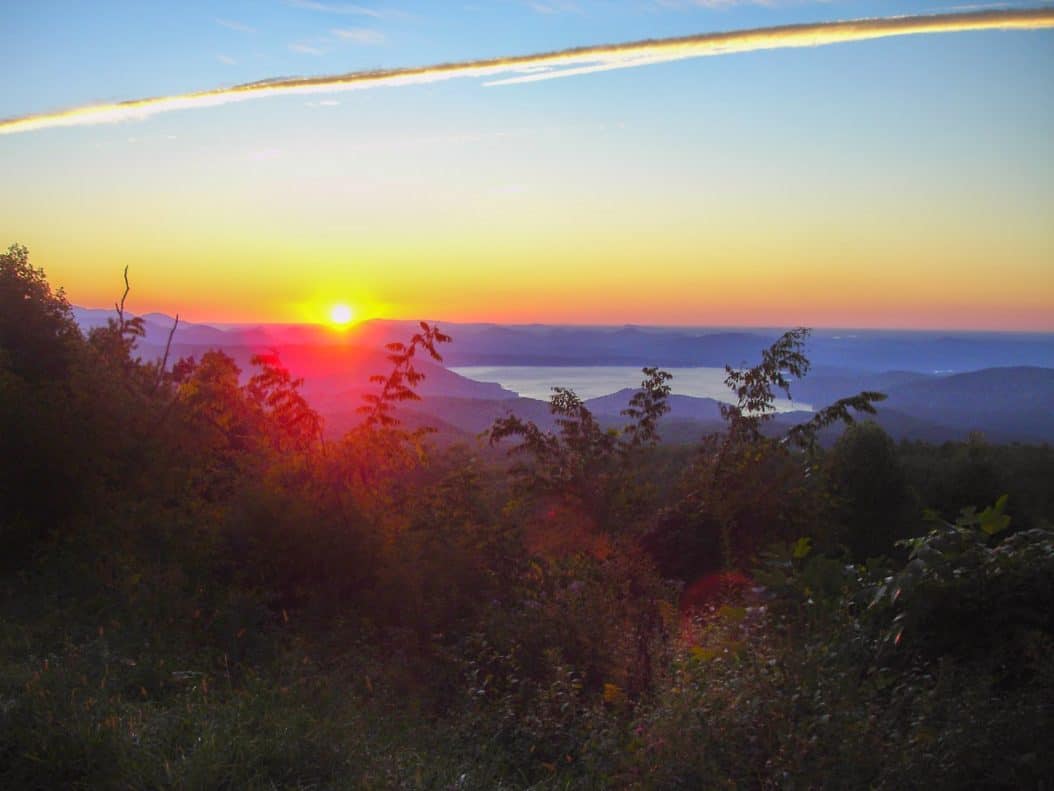
- Beautiful overlooks of Lake Jocasssee as well as hiking along the lake itself
Permits: None needed, but parking fees are required for both Oconee and Table Rock State Parks. Consider purchasing an annual pass for South Carolina State Parks to take care of these fees and continue to trend of visiting some of the state’s treasures after your hike!
Pets: Dogs are allowed on all sections of the Foothills Trail. As always, it is recommended to keep pets on a leash while hiking. I have written extensively on hiking with dogs (I’m a veterinarian so this topic is near and dear to my heart), with posts on First Aid for Your Trail Dog, Tips for Hiking Hiking Safely with Dog, and Preventing Lyme Disease in Your Dog on a Hike .
When to Thru Hike the Foothills Trail
It is possible to hike the trail in all four seasons, weather permitting. Having hiked sections of the trail in all four seasons, my top choice would be spring, in hopes of coming across the rare Oconee Bells wildflower. Fall would be my second choice (the foliage was beautiful), followed by winter. Summer would be last on my list, primarily because it will likely be more crowded and the most common hazards of the trail are plentiful (more on that below).
Resupply Points
The major road crossings of the trail are as follows:
- Table Rock State Park
- US 178
- SC 130
- SC 107
- Oconee State Park
The Bad Creek parking area is as close to a half way point as you’ll probably get to easily leave a resupply. My recommendation would be to fill a bear canister with your resupply food and cache it somewhere close to the trail in the woods, hidden from view.
Alternatively, you could hang food with a proper bear hang method (but make sure it is truly a proper hang or a bear will easily steal it and you’ll be left without a resupply!). Bad Creek’s parking area is about 0.7 mile from the Foothills Trail though, so take that into account.
To keep tabs on where you put the canister, I’d recommend using an app like Gaia GPS (which you can get a discount on by using this link, by the way) and dropping a pin to mark a waypoint where you left it.
Whitewater Falls area could be a good alternative to Bad Creek.
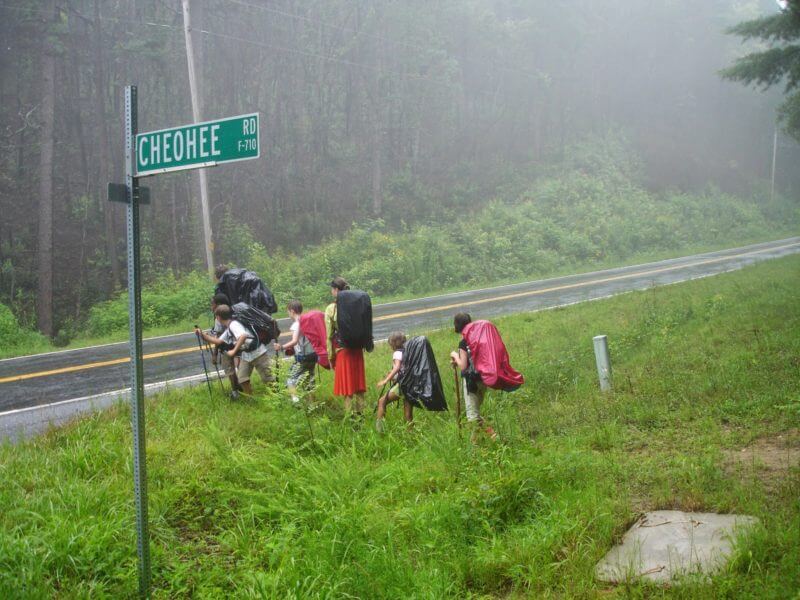
Road crossings are few and far between in certain sections of the trail
Shuttle Information
The Foothills Trail Conservancy keeps a list of folks who are generous enough to volunteer their time to shuttle hikers. The website states that hikers must reimburse your driver for gas, but I’d recommend giving them a little on top of that cost too, for their time.
If your itinerary calls for it, a boat shuttle can be arranged on Lake Joccassee by contacting Jocassee Lake Tours. Wade Brooks, the owner of this company, is incredibly kind, knowledgeable and punctual. We used his service to shuttle from Canebrake to our waiting car at Devil’s Fork State Park (our other car was at the Bad Creek parking area where we started). Jocassee Lake Tours also offers driving shuttle services for a fee which can be found on the website.
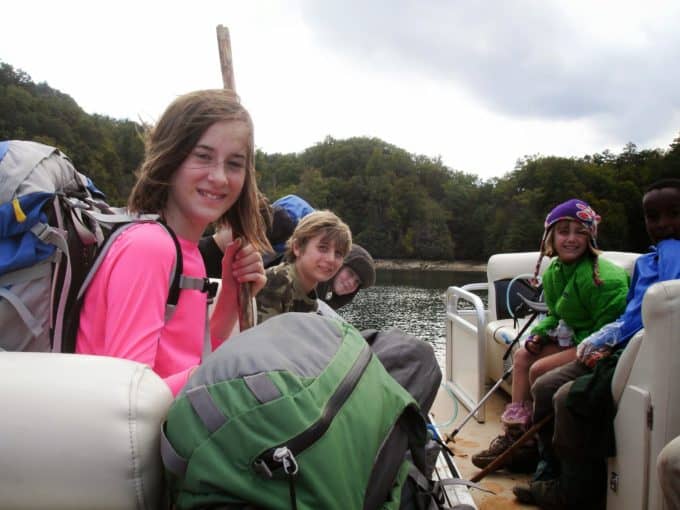
The boat shuttle was a huge hit!
Campsites
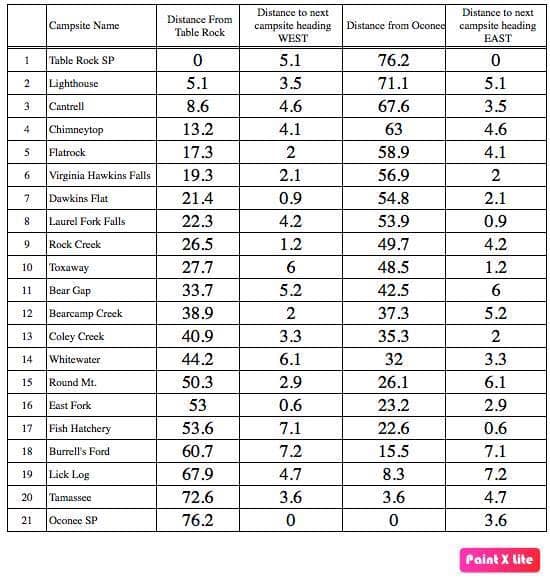
The Foothills Trail Association has done a great job with campsites. Many of them (if not all by the time you read this) include bear cables, benches and fire pits. Here’s a chart I found online that provides the respective mileage between the sites.
Wildlife and Potential Hazards
For us, the biggest safety hazards were yellow jackets, at least during the summer and fall. We encountered multiple nests every time we hiked. If you or someone you are hiking with is allergic to bees, make sure to carry an EpiPen. Even if you’re not allergic, Benadryl should be in your first aid kit.
Ticks were also a problem for us. If the temperature is above 39 degrees, ticks are out! More often than not, I’d find one crawling on someone during or after a hike, so just be mindful and do full body checks to look for them.
Copperheads and Timber Rattlesnakes are the only types of venomous snakes you might encounter. We did not see either of these on our hikes, but I have read trail reports of other people coming across them.
Black bears are residents of this region. We did not encounter any on any of our hikes, but we did see evidence of them (scat, primarily). As always, proper food storage methods are paramount during overnight trips. We did find some of the areas difficult to execute a proper bear hang in the trees, mainly because the limbs were too high to throw line over. For that reason, if I hiked the trail again I’d probably take my bear canister or my Ursack with an Opsak liner, to insure proper storage
The Foothills Trail Conservancy’s website is a great resource for finding up-to-date trail conditions, but pay careful attention to weather patterns before your hike. On my family’s first backpacking trip on the trail, we were unknowingly hiking through designated flood watch and warning areas (none of these were present when we left, but the forecast changed dramatically after we started hiking).
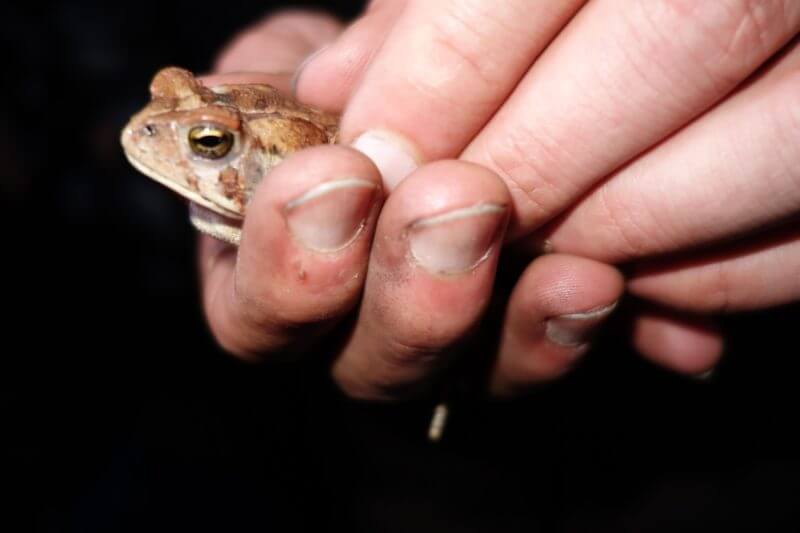
There is an abundance of amphibious wildlife on the trail too!
Planning Resources
Hiking South Carolina’s Foothills Trail by Scott Lynch seems to be the most popular resource currently, but it wasn’t published when I hiked the trail. I’ve thumbed through it though, and I’d buy it if I thru hiked the Foothills Trail again. One of the biggest benefits to this book is that the waypoints are written in either direction versus the book I describe next.
The Foothills Trail Guidebook is what we used, and it served us well but note that all the mileage waypoints are listed from a north to south directional hike. In other words, it’s easier to read and follow along with if you start at Table Rock and end at Oconee State Park.
Also, this guidebook is small enough to take with you during a thru hike, if you’re not a complete gram weanie! It’s not very durable though. Mine got wet on a few occasions and it didn’t hold up very well. I started taking photos of the sections we were covering, instead of bringing the book, and that worked well for me.
Antigravity Gear’s Pocket Profile Map can be found online at Amazon, AntiGravity Gear’s website, or The Foothills Trail Conservancy. I highly recommend this map as it’s a quick and lightweight resource (0.14 ounce) to check elevation profiles, upcoming water sources, campsites, etc.
Foothills Trail Topographical Map. This map includes many quick references (elevation profile, detailed maps for access points, etc), but you could also use a website such as Caltopo to print maps for your hike. By the way, It is always advisable to keep a paper map and compass in your pack during a hike and to not rely on technology exclusively! On one of our day hikes, I actually needed my map and compass to navigate back to our car when we missed the turnoff for an overgrown side trail and I wasn’t sure how to proceed.
I have heard that some of these resources can be found in outfitters located in South and North Carolina, such as REI.
If you’re a consumer of well-produced podcasts, I was a guest on Trails Worth Hiking and shared my tips and experiences on the Foothills Trail. You can listen to it below or find it wherever you else you listen to podcasts.
Online Planning Resources
Foothills Trail Facebook Group
The Foothills Trail Conservancy provides a wealth of information regarding the trail, including contact information for shuttle drivers.
If you’re interested in vlogs, this one is well done and gives the perspective of a family hiking the Foothills Trail.
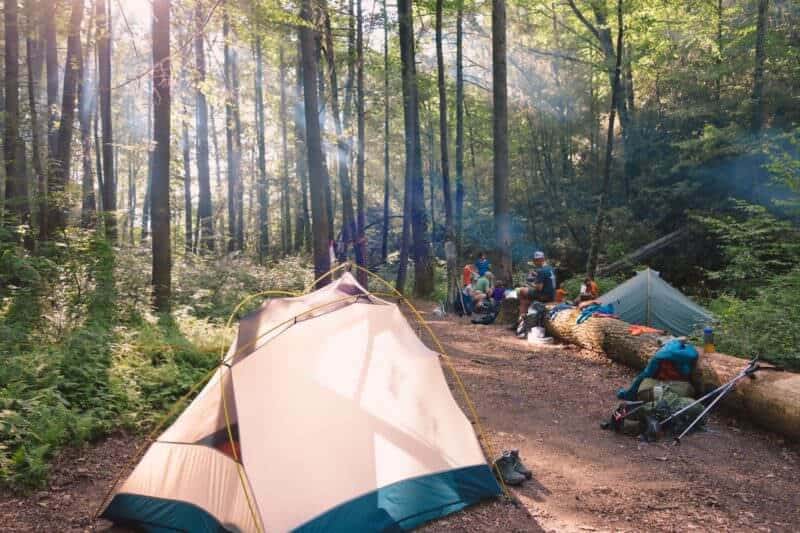
Plan for peaceful campsites such as this one at Laurel Creek–pure bliss
Gear Considerations
Aside from the typical gear you’d always take on a hike (and please, the search and rescue team member in me is always compelled to make sure you always carry the 10 essentials and know how to use them), here are a few suggestions of what I think would be useful to carry:
- A hiking umbrella Because you are hiking in the southeast, an umbrella can be an invaluable piece of gear to protect you from rain, especially if it’s warm outside and rain gear will soak you more than the rain with your own sweat! This is the umbrella I carry and it is truly one of my most prized possessions! You can read my full review about it right here.
- Bear-proof Food Storage Containers Many of the campsites along the Foothills Trail are equipped with bear cables to hang your food. For those that don’t have cables, an Ursack would be ideal. Because Ursacks don’t require a proper hang technique to work (you can time them to a tree or sturdy branch), they’re more practical on the Foothills Trail. Many of the campsite areas do not have trees that are conducive to hanging a food bag properly. A bear canister would also suffice, but it’s much heavier than an Ursack.
- Emergency Signaling Device Because cell service is limited on the Foothills Trail, I think it is always wise to carry a personal locator beacon or satellite GPS device, especially if you are hiking solo. My two top picks are the Garmin InReach Mini or the QRS ResQlink.
- Epi-Pen and Benadryl If you or anyone you are hiking with is allergic to bee stings, I strongly encourage bringing an Epi-Pen with you on your hike. Even if no one is allergic, Benadryl is recommended for a potential sting and mitigating some of the painful side effects that come with stings.
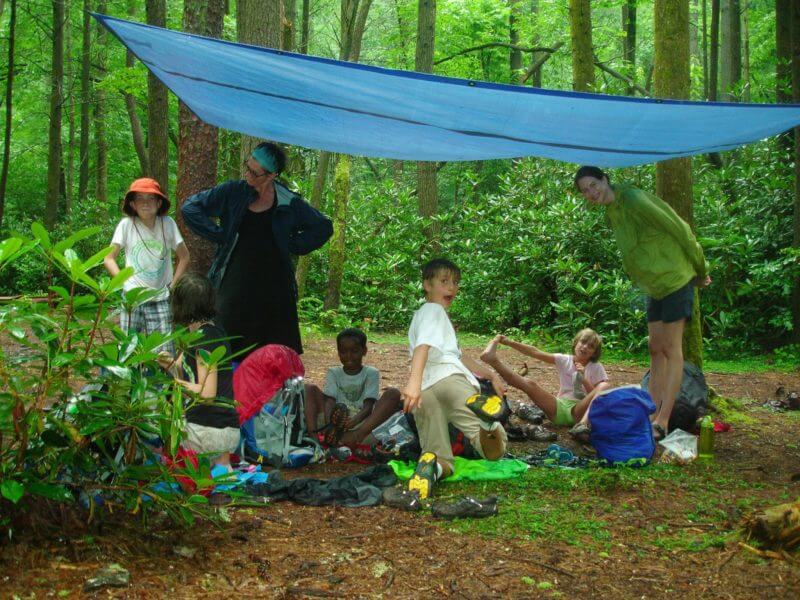
A tarp to use in camp is also a solid “luxury item”
I’m happy to answer questions about my own hike on the Foothills Trail or any hiking-related questions if you’re just getting started! I hope this was helpful information, but more importantly, I hope you have a lifetime adventures that includes this magnificent trail!
[content-upgrade id=”3141″]
